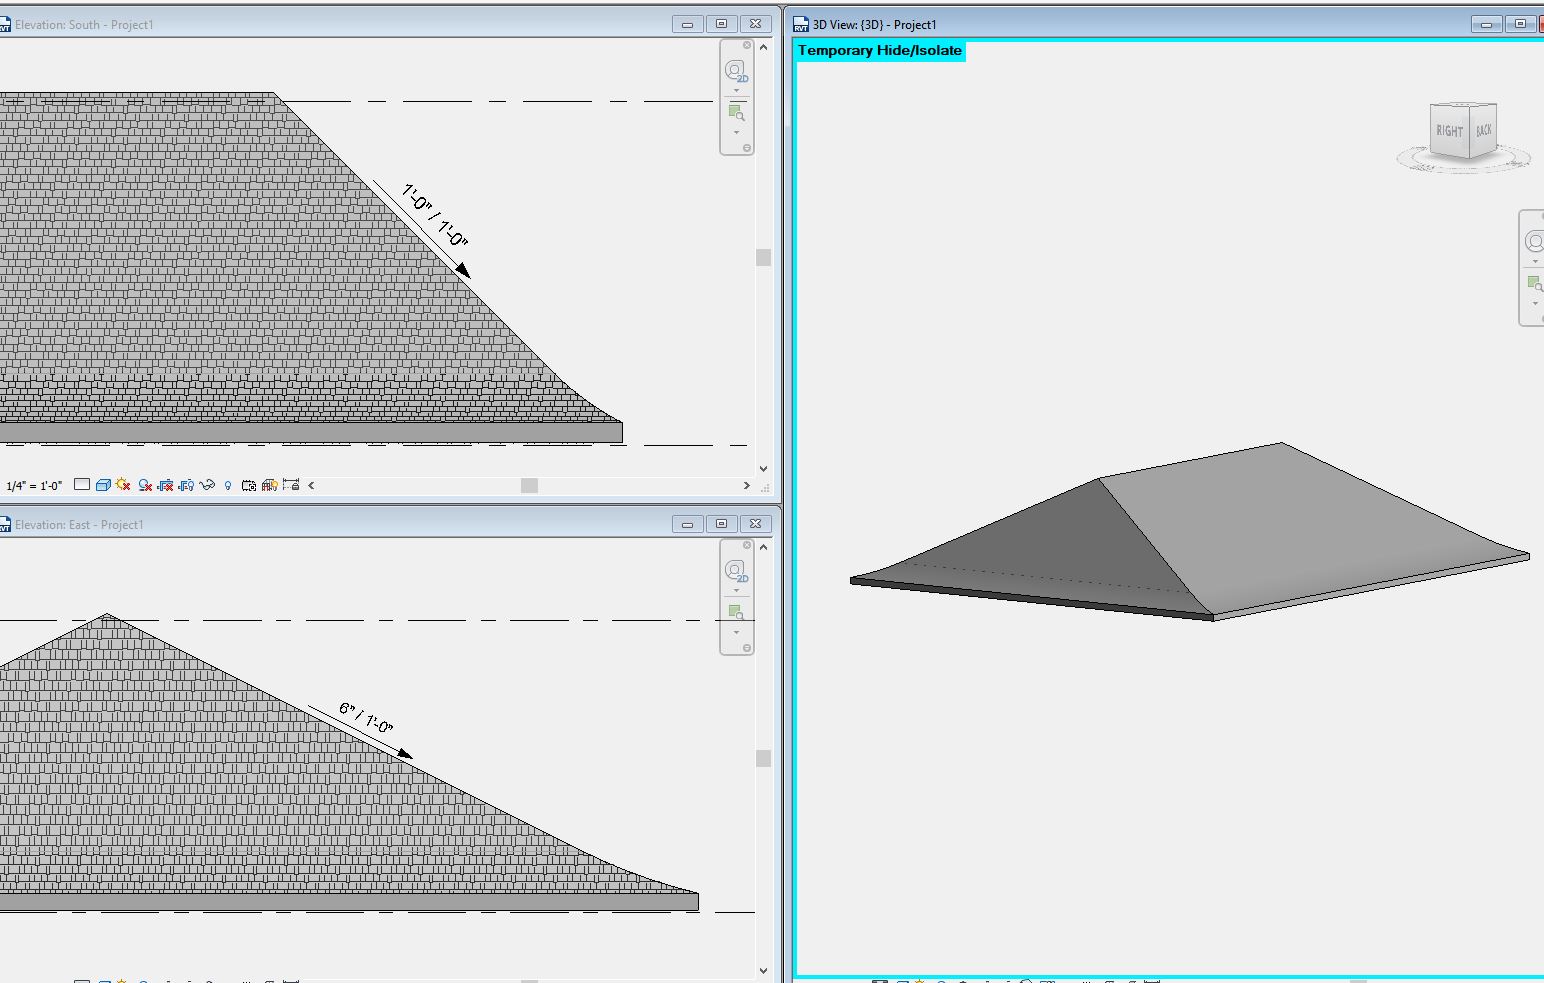
Revit Roof With Weird Angle Slopes

Revit Roof Basics 10 Slope Arrow Cadclips Youtube
Solved Roofs With Dual Slopes And Curved Swoops At The Wall Edge Autodesk Community Revit Products

Revit Tutorials Roofs Youtube

Solved Roof Is Changing Slope Mid Roof Autodesk Community Revit Products
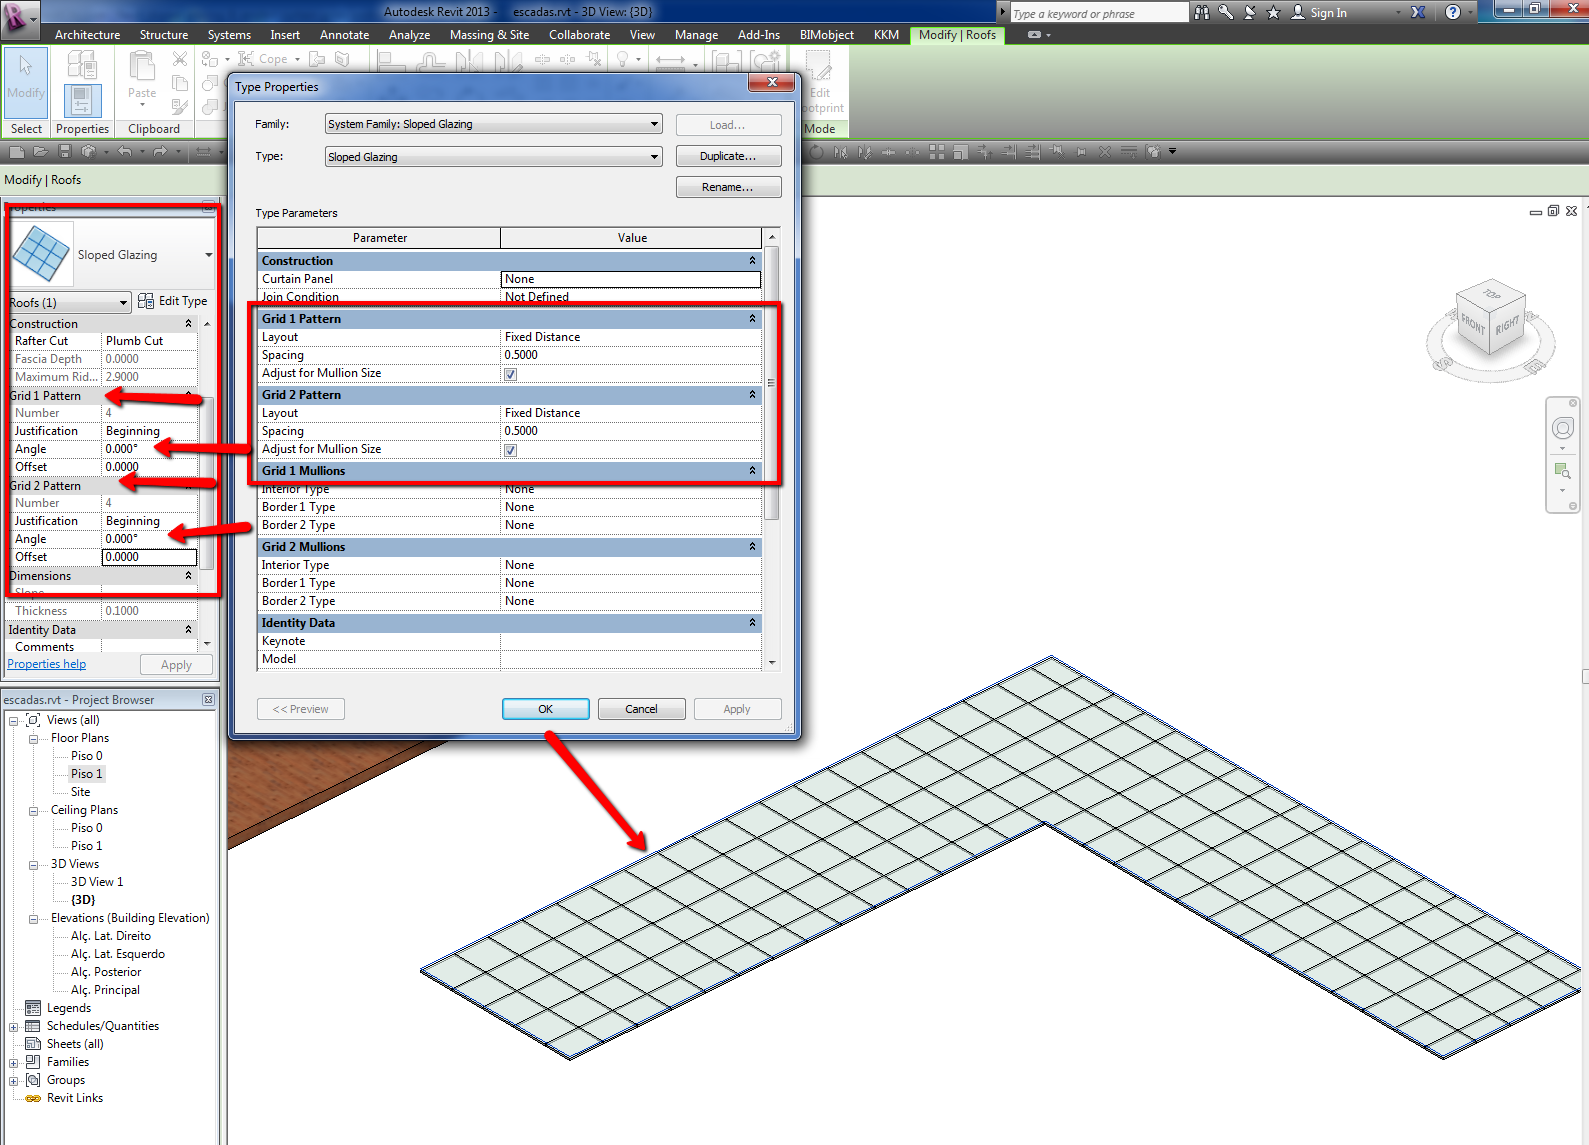
Revitcity Com Revit Sloped Glazing Angled Curtain Grids Problem

Solved Spot Slope Annotation Offset In Sections Autodesk Community Revit Products

This video was recorded using revit 2012.
Revit roof with weird angle slopes.

9 Tips To Understand Revit Roofs Revit Pure

Solved Length And Width For Parts From A Roof Autodesk Community Revit Products
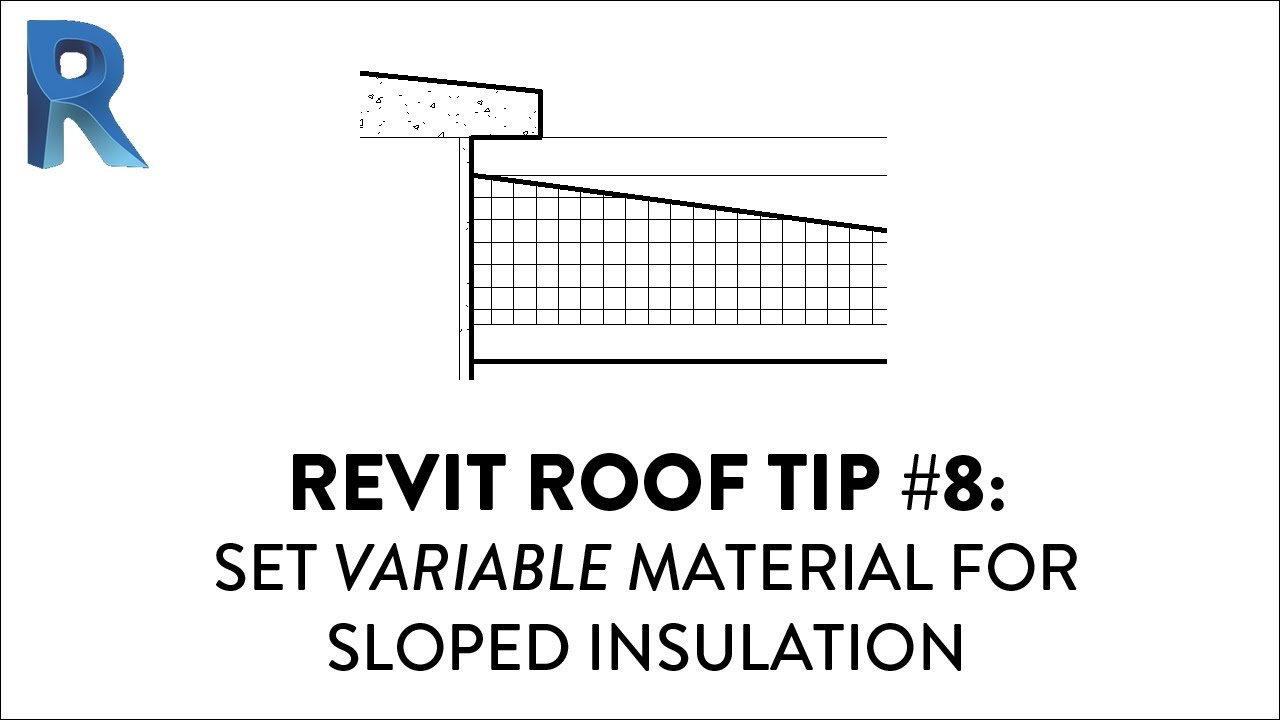
Revit Roof Tip 8 Set Variable Material For Sloped Insulation Youtube

Solved Sloped Curtain Roof On A Sloped Roof Autodesk Community Revit Products
Source : pinterest.com
