Revit Joining Two Different Roof Profile

Split Gable Roof Autodesk Community Revit Products

Solved Roof Wall Join One Side Roof Misses Autodesk Community Revit Products

Solved Roof Is Drawn Higher Than Level Placed At Autodesk Community Revit Products

Revit How To Create A Profile And Wall Sweep In 2020 Wall How To Plan Sweep

Solved Roof Structure Autodesk Community Revit Products

Revit Tips Join Roof Dormer Opening Youtube

Load the profile we created before.
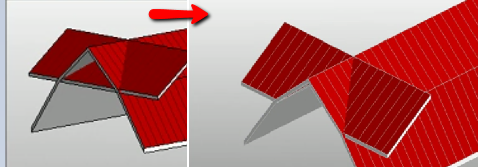
Revit joining two different roof profile.

Solved Curved Mansard Roof Autodesk Community Revit Products

How To Model Roof Construction In Revit Roof Construction Revit Tutorial Architecture Building Design
Create A Dormer Opening In A Roof Revit Products 2018 Autodesk Knowledge Network
How To Cut A Hole To A Roof Revit Lt 2018 Autodesk Knowledge Network
Source : pinterest.com
