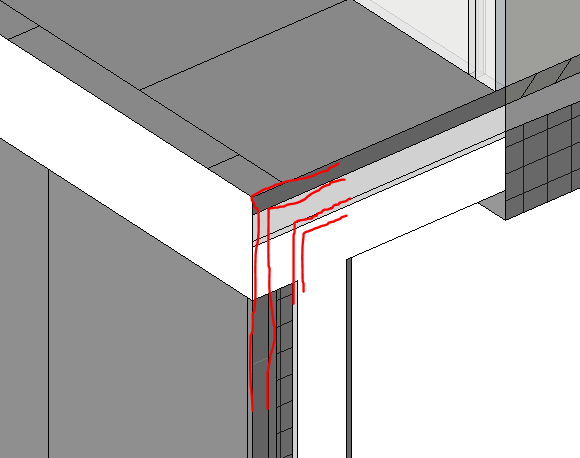
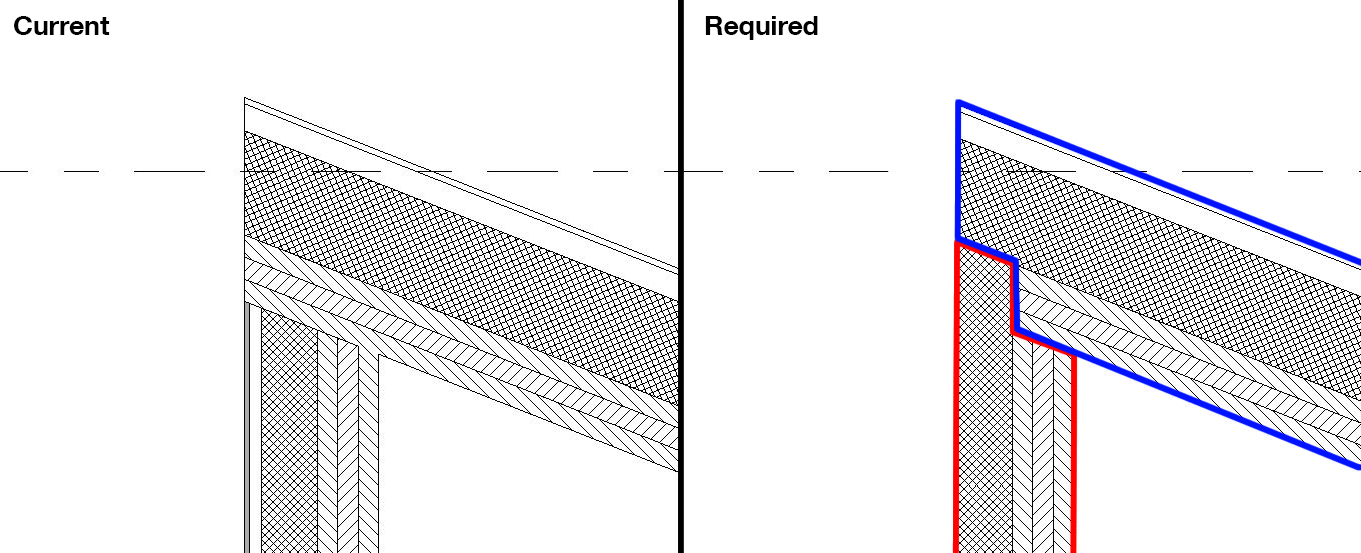
Shape handles are not available for surfaces created by openings placed in roof faces.
Revit extending walls to roof.
The other element can be a floor a roof a ceiling a reference plane or another wall that is directly above or below.
Revit made easier with axiom s easy to use tools.
After converting mass faces to a roof you can use shape handles to extend the roof boundaries.
When you select the roof face roof shape handles display.
In the drawing area select the roof face.
By attaching a wall to another element you avoid the need to manually edit the wall profile when the design changes.
On the quick access toolbar click default 3d view.
Yes it was that easy.
Click to select the roof.
Press ctrl and click to select each interior wall that displays in the underlay of the entry level.
You cannot join a roof to more than one top face of another roof.
By default when you pick a compound wall with multiple layers the floor sketch will extend to the core boundary of the wall.
Click modify walls tab modify wall panel attach top base.
When using the pick walls tool there is a setting on the options bar called extend into wall to core.
You can join roofs to other roofs or walls or unjoin them if they were previously joined.
If desired you can specify an offset using a positive or negative value.
Watch me extend a roof over a new wing.
After placing a wall you can override its initial top and base constraints by attaching its top or base to another element in the same vertical plane.
You can join a roof to the top face of another roof and the wall below that roof if you select the wall as the target.
The wall must be attached to the target roof and the target roof must be a footprint roof.
Notice that the walls extend to the roof.