Select the desired linetype from the line style type selector.
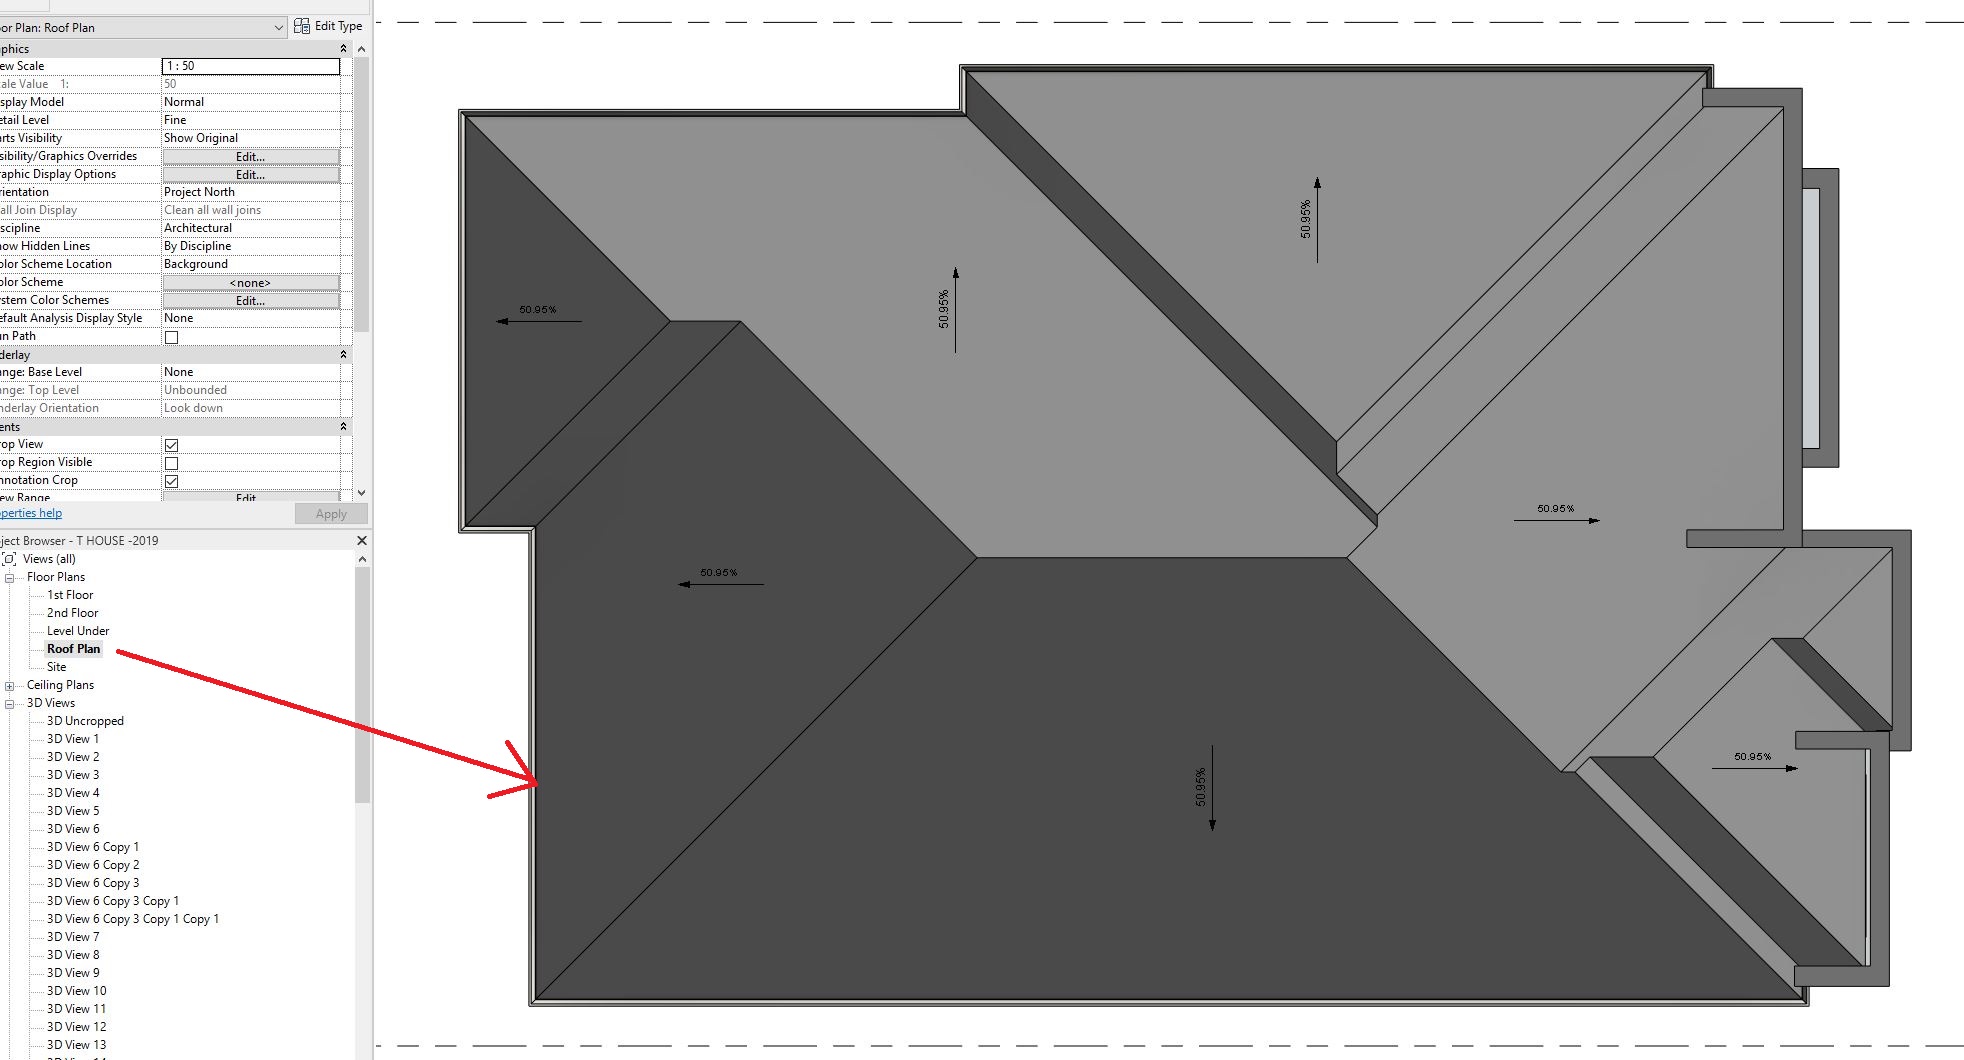
Revit adjust view to see roof.
They will be converted to the default units angles in this case.
Edit the roof sketch select the roof and click modify roofs tabmode panel edit footprint or edit profile.
Use the depth clipping parameter to display parts of a model below the cut plane.
Click on each roof edge line to change the linetype.
If you want to change the position of the roof use the properties palette to edit the base level and offset properties to change the position of the reference plane.
Working with view range can be frustrating when you start using revit.
3 modify properties to adjust roof slope.
I have set up an overall roof plan using revit 2016 and all looks good except for the fact that the roof line and the tops of the exterior walls are all defaulting to halftone.
You can use any units like and ratios 1 10.
Select the linework tool in the view panel on the home ribbon.
It would be preferable to have these lines read as dark.
If you only want the wall visible in the plan view as it appears in the view range of level 3 you can clip the wall from view using the depth clipping parameter.
After creating a roof you can change its shape or overhang cut openings or align ridges.
Click it and change it as necessary.
Revit displays the modify linework contextual ribbon.
Now when you click the boundary you created above you will see view range in properties palette.
It s the only property you can change for this object.
This four minute friday will show how to adjust roof eave edges.
The back clip plane is defined by the view depth parameter which is.
Click on a roof and change the angle in the slope properties.
You activate this feature using the depth clipping parameter for the plan view.
This makes the roof line visible in the plan view but the lines appear as solid lines.