Revit Adjust Roof To Sloping Walls

How To Create A Thatch Roof In Revit Micrographics Thatched Roof Thatch Roof

Revit Tutorial Constant Slope Rigging Family Rigid Insulation Therevitkid Com Tutorials Tips Products And Revit Tutorial Rigid Insulation Tutorial

Solved Roof Wall Join One Side Roof Misses Autodesk Community Revit Products

Autodesk Revit Tutorials 11 Attaching Walls To The Roof Autodesk Revit Revit Tutorial Revit Architecture

Autodesk Revit Tutorials 14 Adding A Sloped Floor Autodesk Revit Revit Tutorial Autodesk

Several Residential Commercial Buildings As Well As Other Wood Framed Roofs Contain Clipped Gable Ends Also Know Building Information Modeling Roof Gable Roof

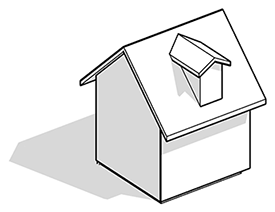
To create a slope for an odd shaped roof like the one below use slope arrow.
Revit adjust roof to sloping walls.

Https Encrypted Tbn0 Gstatic Com Images Q Tbn 3aand9gcqdhfa1qxay7d0gldcaebjrhaab5v Ikcctva Usqp Cau

Webinar 2 Creating Masses In Revit Youtube Archdesignlabs Revit Tutorial Autodesk Revit Mass
9 Tips To Understand Revit Roofs Revit Pure

How To Model Roof Construction In Revit Roof Construction Revit Tutorial Architecture Building Design
Source : pinterest.com
